Introduction
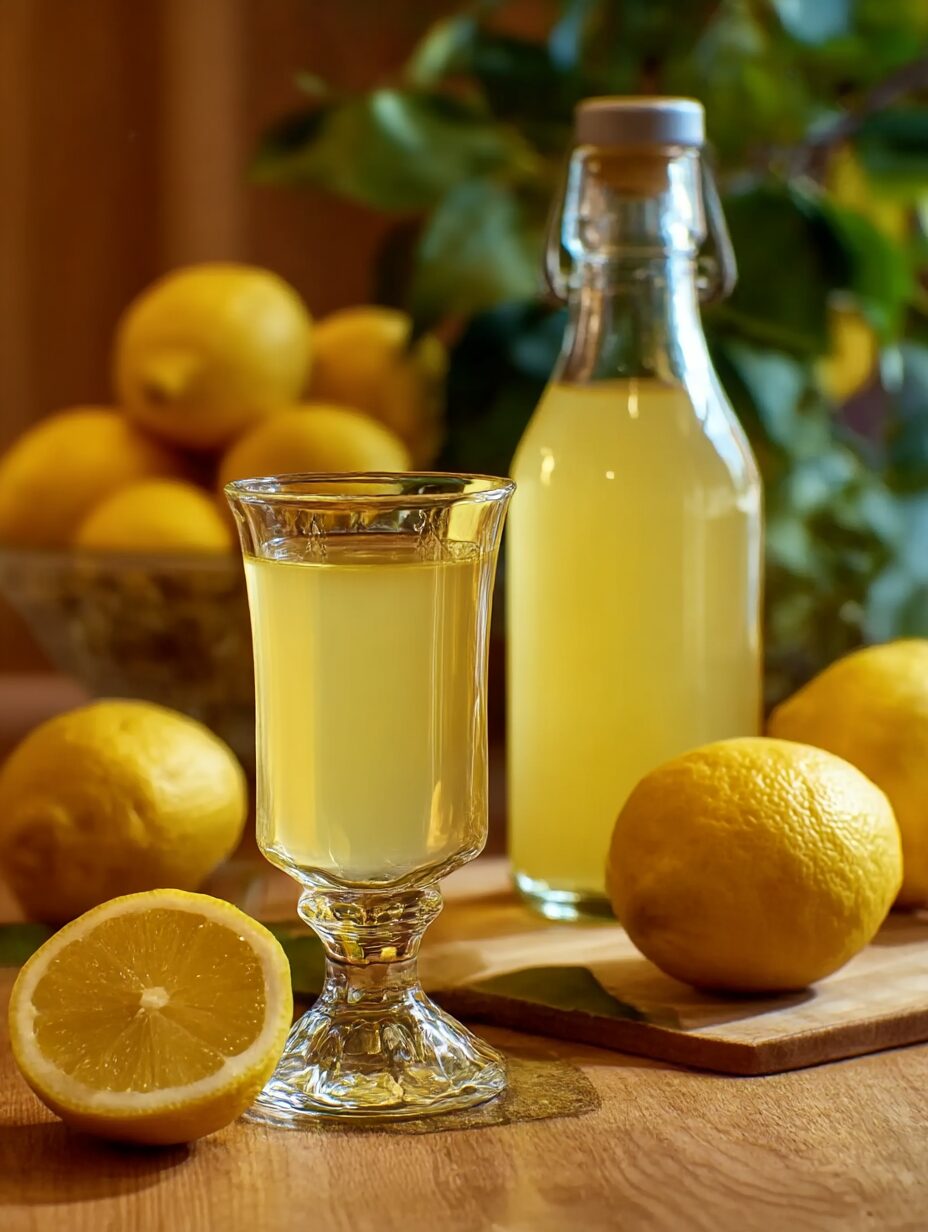
Italian lemon liqueur, or limoncello, embodies the bright, vibrant essence of Italy. This aromatic spirit, traditionally enjoyed as a digestif, captures the zest of sun-kissed lemons, delivering a refreshing citrus burst with every sip.
While hailing from the Amalfi Coast, limoncello has gained worldwide popularity, making it a delightful addition to any home bar. Its sweetness and acidity harmonize beautifully, making it perfect for sipping, cocktail mixing, or even drizzling over desserts.
Ingredients
- 10 large lemons
Select organic lemons if possible, as they are free from pesticides and have a thicker zest, imparting a robust lemon flavor. - 750 ml of high-proof grain alcohol (such as Everclear)
The high alcohol content is essential for extracting the essential oils from the lemon zest, resulting in a more flavorful liqueur. - 500 grams of granulated sugar
Sugar balances the tartness of the lemons, creating a smooth and sweet liqueur; it also helps to enhance the overall flavor profile. - 750 ml of water
Water is used to dilute the alcohol after the infusion process, helping to achieve the desired taste and consistency of the final product.
Directions & Preparation
Step 1: Wash and zest the lemons using a vegetable peeler, avoiding the white pith.
This step is crucial as the zest holds the essential oils that give limoncello its vibrant flavor. Using a peeler ensures you capture just the zest, minimizing bitter flavors from the pith.
Step 2: Combine lemon zest and high-proof alcohol in a sealable glass jar.
Combine the zest with alcohol in a container that can be sealed tightly. This allows the zest to infuse properly, releasing its oils into the alcohol. Store the mixture in a cool, dark place for at least 2 weeks for optimal flavor extraction.
Step 3: After two weeks, prepare a simple syrup by boiling water and sugar together until dissolved.
Creating a simple syrup not only sweetens your limoncello but also adds a velvety texture. Boiling ensures that the sugar is fully dissolved, producing a smooth syrup.
Step 4: Strain the lemon zest from the infused alcohol and combine with the syrup.
Straining the mixture removes the zest, leaving a clean, flavorful liquid. Combine the strained alcohol with the cooled syrup to create your finished limoncello.
Step 5: Bottle the limoncello and let it sit for at least another week before serving.
Allowing the limoncello to rest blends the flavors, resulting in a smoother finish. Store it in the freezer for a chilled experience when served.

Choosing the Right Lemons Makes All the Difference
The quality of lemons used significantly impacts the final flavor of your limoncello. Look for lemons that are firm, with vibrant yellow skin. If possible, choose organic lemons, as they are more likely free from wax and pesticides, enhancing the purity of your liqueur.
Alcohol Matters: Why High-Proof is Key
Using a high-proof alcohol for infusing the lemon zest is crucial. It serves as a potent solvent, drawing out the essential oils and flavors from the lemon peels effectively. This results in a more vibrant and aromatic limoncello compared to using lower-proof spirits.
Experimenting with Flavor Infusions
While traditional limoncello is lemon-based, you can experiment by infusing additional flavors like fresh herbs or citrus varieties. Adding basil or mint can provide unique notes, offering a fresh twist on the classic recipe, perfect for creative bartenders.
FAQs
What can I do if my limoncello turned out too sweet?
If your limoncello is too sweet, consider diluting it with additional alcohol or water to balance the flavor.
Why is my limoncello cloudy instead of clear?
A cloudy appearance may happen if there is leftover sugar or zest particles. Straining more thoroughly should help clarify the liqueur.
Can I adjust the lemon-to-sugar ratio for a different flavor?
Absolutely! Adjusting the ratio can result in either a more tart or sweeter limoncello, depending on your preference for balance.
What should I do if my limoncello is too strong?
If it's too strong, mix in a little water to dilute the flavor and soften the punch. Taste as you go until you achieve your desired strength.
How can I tell when the limoncello infusion is complete?
The infusion is ready when the alcohol has taken on a vibrant yellow color and the lemon zest has lost most of its brightness, usually after two weeks.
What can I make with leftover lemon zest after infusing?
Leftover lemon zest can be used in baking, cooking, or even in homemade marinades to avoid waste and add a burst of flavor.
Conclusion
Crafting your own Italian lemon liqueur is a rewarding experience, offering a taste of Italy from your own kitchen. With patience and quality ingredients, you’ll create a delightful spirit that can be enjoyed for months to come.
Keep experimenting with flavors and recipes, and soon you'll have a signature limoncello that reflects your own culinary style.
Recipe Card
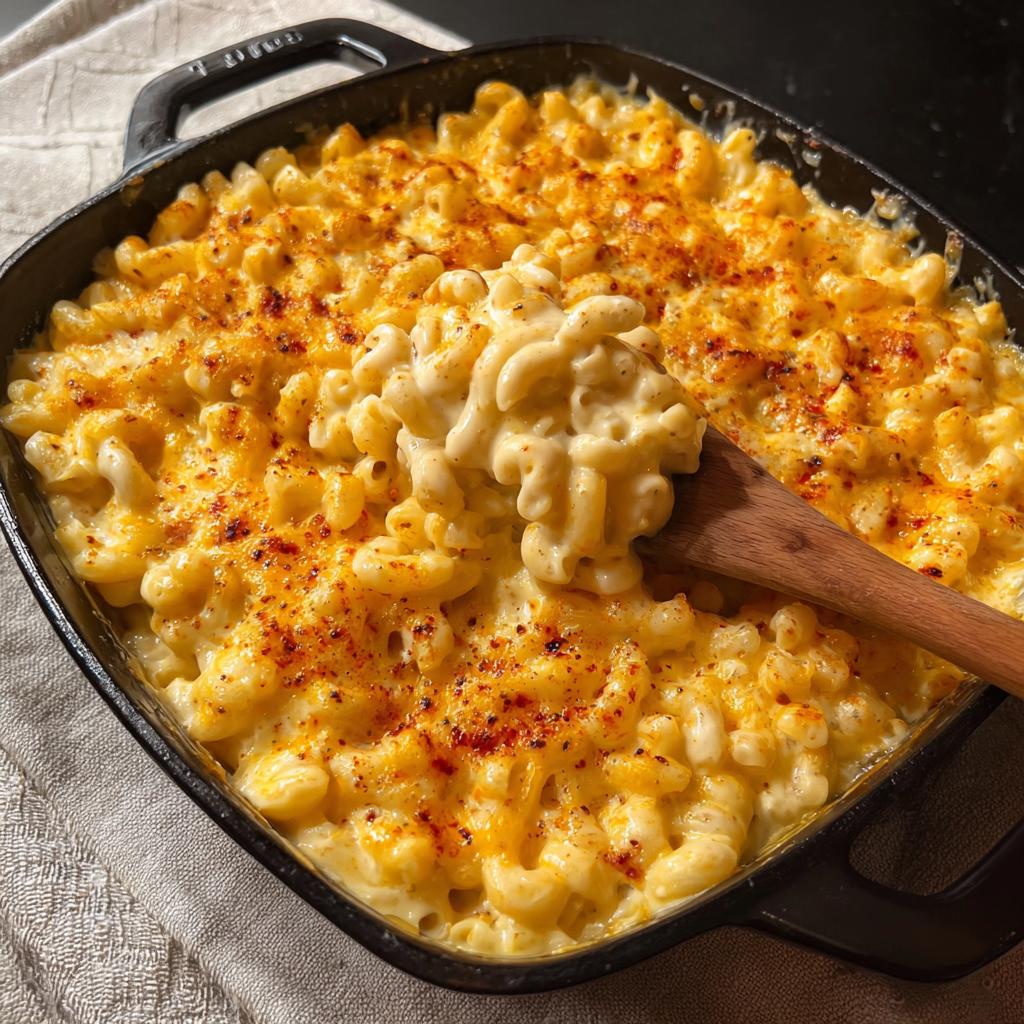
Indulging in Creamy Mac and Cheese at Home
Ingredients
Method
- Cook the macaroni in boiling water until al dente.
- Prepare a roux with butter and flour.
- Gradually whisk in the milk until smooth.
- Stir in the cheeses, garlic powder, and onion powder.
- Combine the pasta with the cheese sauce.
- Season with salt and pepper to taste.
- Transfer the mixture to a baking dish.
- (Optional) Top with breadcrumbs and bake.
- Let cool slightly before serving.
Tried this recipe?
Let us know how it was!Notes
Additional serving suggestions: pair with a crisp salad, garlic bread, or roasted seasonal vegetables for balance.
For make-ahead, prep components separately and assemble just before heating to preserve texture.
Taste and adjust with acid (lemon/vinegar) and salt right at the end to wake up flavors.