Why You’ll Love It
- It’s a burst of flavor with every bite—spicy, tangy, and umami all at once!
- Making traditional Korean kimchi is surprisingly easy and fun.
- It’s packed with probiotics, making it great for gut health.
- Kimchi is budget-friendly; you can make a big batch for just a few dollars.
- It keeps well in the fridge, so you’ll always have a tasty side dish on hand.
- Perfect for adding a kick to rice, noodles, or even sandwiches!
- It’s a versatile dish that can be enjoyed fresh or cooked in various recipes.
- Plus, it’s a great way to impress your friends with your culinary skills!
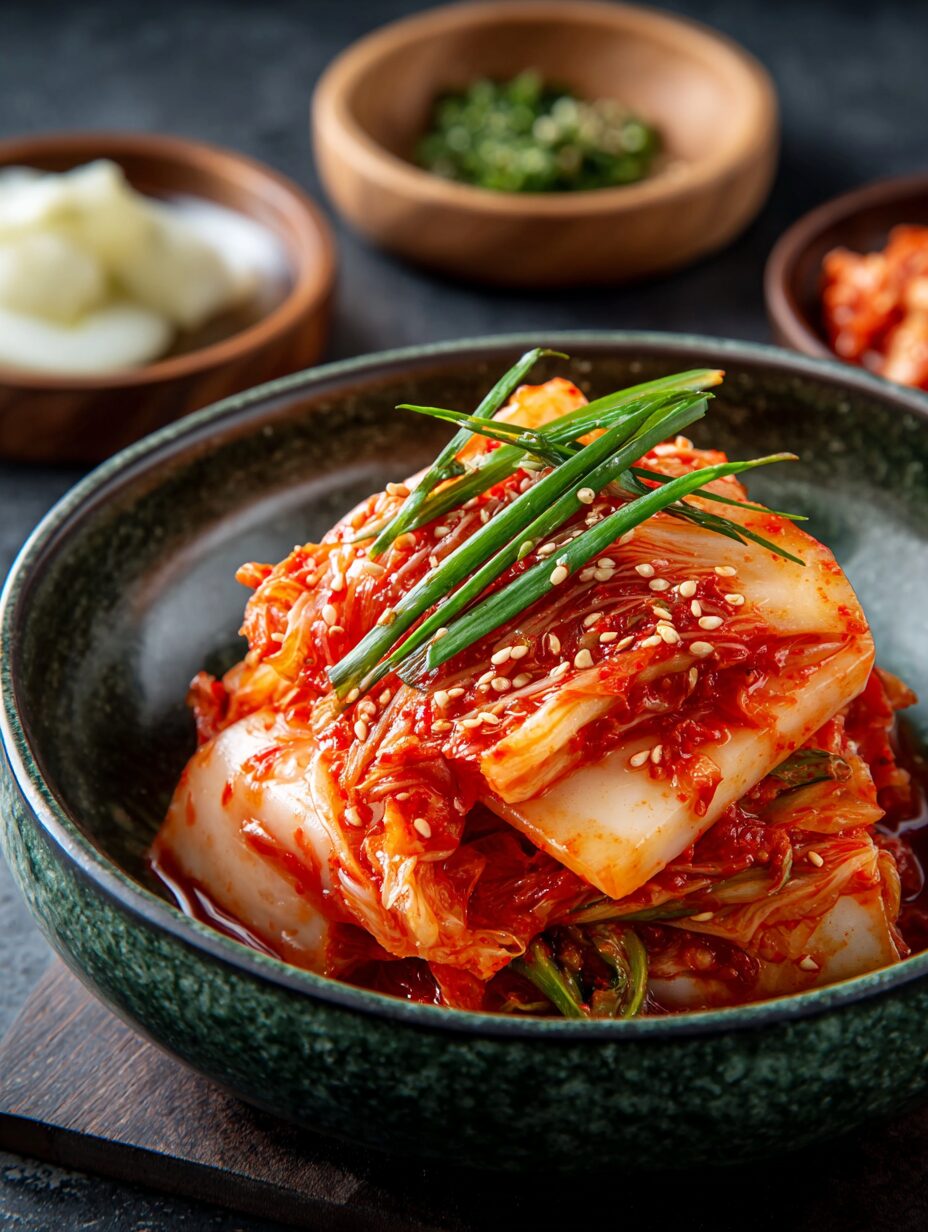
Kimchi is one of those magical dishes that transports me straight to my first visit to a bustling Korean market. I remember the vibrant colors of the vegetables, the intoxicating aroma of spices, and the excitement of trying something new. The first bite of traditional Korean kimchi was a revelation—crunchy, spicy, and tangy all at once, it danced on my taste buds and left me craving more. The way the flavors meld together, with the heat of the chili flakes and the depth of the garlic and ginger, is simply irresistible. I love how versatile kimchi is; it can be a side dish, a topping, or even a main ingredient in a stew. Making your own kimchi at home is not only rewarding but also a fun way to experiment with flavors and textures. Trust me, once you try this recipe, you’ll be hooked! Let’s get cooking.
Why You’ll Love It
- It’s a burst of flavor with every bite—spicy, tangy, and umami all at once!
- Making traditional Korean kimchi is surprisingly easy and fun.
- It’s packed with probiotics, making it great for gut health.
- Kimchi is budget-friendly; you can make a big batch for just a few dollars.
- It keeps well in the fridge, so you’ll always have a tasty side dish on hand.
- Perfect for adding a kick to rice, noodles, or even sandwiches!
- It’s a versatile dish that can be enjoyed fresh or cooked in various recipes.
- Plus, it’s a great way to impress your friends with your culinary skills!
Ingredients for Kimchi
To make the best kimchi, you’ll need a few simple ingredients that come together to create that signature flavor. Here’s what you’ll need:
- 1 medium napa cabbage – This is the star of the show, providing the crunchy base for your kimchi.
- 1/4 cup sea salt – Essential for drawing out moisture and helping with fermentation.
- 4 cups water – Used to dissolve the salt for soaking the cabbage.
- 1 tablespoon grated ginger – Adds a warm, zesty kick that complements the other flavors.
- 5 cloves garlic, minced – Infuses the kimchi with a robust, aromatic flavor.
- 2 teaspoons sugar – Balances the spice and enhances fermentation.
- 2-3 tablespoons Korean red chili pepper flakes (gochugaru) – This gives kimchi its signature heat and vibrant color.
- 1 small daikon radish, julienned – Adds crunch and a slightly sweet flavor.
- 3 green onions, chopped – Brings freshness and a mild onion flavor to the mix.
- 1 tablespoon fish sauce (optional) – Adds depth and umami, but can be omitted for a vegan version.
Each ingredient plays a crucial role in creating that perfect balance of flavors and textures in your homemade traditional Korean kimchi. Enjoy the process!
How to Make Kimchi
Making your own kimchi at home is a delightful adventure! Follow these simple steps to create your very own batch of traditional Korean kimchi that’s bursting with flavor.
- Step 1: Start by cutting the medium napa cabbage lengthwise into quarters and remove the core. This will help the cabbage soak up all those delicious flavors.
- Step 2: In a large bowl, dissolve the 1/4 cup sea salt in 4 cups of water. Soak the cabbage in this saltwater for about 2 hours. You’ll notice the cabbage wilting and becoming tender—this is a good sign!
- Step 3: After soaking, rinse the cabbage under cold water to remove any excess salt. Drain it well and let it sit for a few minutes to ensure it’s not too watery.
- Step 4: In a separate bowl, mix together the minced garlic, grated ginger, 2 teaspoons sugar, and 2-3 tablespoons gochugaru to form a fragrant paste. The aroma will be heavenly!
- Step 5: Add the julienned daikon radish and chopped green onions to the paste, mixing well to combine all those vibrant flavors.
- Step 6: Now comes the fun part! Rub the spice mixture onto each cabbage leaf, making sure to coat them evenly. Feel free to get your hands in there—just be careful with the chili flakes!
- Step 7: Pack the coated cabbage tightly into a clean jar, leaving some space at the top for the kimchi to expand as it ferments.
- Step 8: Seal the jar and let it sit at room temperature for 1-2 days. You’ll start to notice the tangy smell of fermentation filling your kitchen—so exciting!
- Step 9: After 1-2 days, taste your kimchi. If it’s reached your desired level of sourness, transfer it to the refrigerator. The flavors will continue to develop and deepen as it ferments further in the fridge.
And there you have it! Your homemade kimchi is ready to enjoy. The crunch, spice, and tang will make every bite a delight!
Pro Tips for the Best Kimchi
Creating the perfect kimchi is all about the little details! Here are some expert tips to elevate your homemade traditional Korean kimchi:
- Always use fresh, high-quality ingredients. The better your vegetables, the tastier your kimchi will be!
- Don’t skip the soaking step! This helps to draw out moisture and ensures your cabbage is tender and flavorful.
- Feel free to adjust the spice level by adding more or less gochugaru based on your taste preferences.
- Experiment with fermentation times! If you like a stronger flavor, let it ferment longer at room temperature before refrigerating.
- Use gloves when handling the chili paste to avoid irritation from the spice.
What’s the secret to perfect Kimchi?
The secret lies in balancing the flavors! Make sure to taste your kimchi during fermentation. If it’s too salty, add a bit of sugar; if it’s not spicy enough, mix in more gochugaru. This way, you can customize it to your liking!
Can I make Kimchi ahead of time?
Absolutely! You can prepare your kimchi in advance and store it in the fridge. It actually tastes better after a few days as the flavors meld together. Just remember to leave some space in the jar for expansion during fermentation!
How do I avoid common mistakes with Kimchi?
One common pitfall is over-salting. Always rinse the cabbage thoroughly after soaking to remove excess salt. Also, be mindful of the fermentation time; too long can lead to overly sour kimchi. Keep an eye on it and taste regularly!
Best Ways to Serve Kimchi
Serving kimchi is all about showcasing its vibrant colors and bold flavors! You can plate it in a small bowl as a side dish, allowing its crunchy texture to shine. It pairs beautifully with a steaming bowl of rice, adding a spicy kick that elevates any meal. Try it alongside grilled meats or in a hearty Korean BBQ spread for a delightful contrast. You can also toss it into stir-fries or noodle dishes for an extra layer of flavor. For a fun twist, use kimchi as a topping on tacos or sandwiches—trust me, it’s a game changer! Enjoy experimenting with this versatile dish!
Nutrition Facts for Kimchi
Each serving of kimchi (about 1/2 cup) is not only delicious but also low in calories, making it a fantastic addition to your meals. Here’s the estimated nutrition breakdown:
- Calories: 30
- Fat: 0g
- Saturated Fat: 0g
- Trans Fat: 0g
- Carbohydrates: 6g
- Fiber: 2g
- Sugar: 1g
- Protein: 1g
- Sodium: 600mg
- Cholesterol: 0mg
This is an estimate and may vary depending on the specific ingredients used in your traditional Korean kimchi.
How to Store and Reheat Kimchi
Storing your homemade kimchi properly is key to maintaining its delicious flavor and crunch! Once your traditional Korean kimchi is fermented to your liking, transfer it to an airtight container or a glass jar with a tight-fitting lid. This helps keep out air and moisture, which can spoil your kimchi. In the fridge, it can last for several weeks, and the flavors will continue to develop over time.
If you want to store it for an even longer period, you can freeze kimchi. Just make sure to use a freezer-safe container, leaving some space for expansion. It can be frozen for up to 3 months. When you’re ready to enjoy it, simply thaw it in the fridge overnight. Reheating isn’t necessary, as kimchi is often enjoyed cold or at room temperature, but if you prefer it warm, toss it into a stir-fry or soup for a delightful addition!
Frequently Asked Questions About Kimchi
Got questions about kimchi? You’re not alone! Here are some of the most common queries I get, along with helpful answers to guide you on your kimchi-making journey.
How long does kimchi last?
Once fermented, kimchi can last in the fridge for several weeks, sometimes even months! The flavors will continue to develop, so don’t worry if it gets a bit sour over time. Just make sure to keep it in an airtight container to maintain its crunch.
Can I use other vegetables for kimchi?
Absolutely! While napa cabbage is traditional, you can experiment with other veggies like cucumbers, carrots, or even radishes. Just remember to adjust the fermentation time based on the vegetable you choose, as some may ferment faster than others.
Is kimchi spicy?
It can be! The level of spice in your traditional Korean kimchi depends on how much gochugaru (Korean red chili pepper flakes) you add. If you’re sensitive to spice, start with a smaller amount and gradually increase it to suit your taste.
Can I make kimchi without fish sauce?
Yes, you can! If you prefer a vegan version, simply omit the fish sauce. You can also substitute it with a bit of soy sauce or miso for added umami flavor without compromising the essence of your kimchi.
Variations of Kimchi You Can Try
Once you’ve mastered the classic kimchi, why not explore some fun variations? Here are a few ideas to get your creative juices flowing:
- Vegan Kimchi: Simply omit the fish sauce and use a splash of soy sauce or miso for that umami kick without the animal products.
- Cucumber Kimchi: Swap out napa cabbage for fresh cucumbers. This quick version is perfect for a refreshing summer side dish!
- Radish Kimchi: Use daikon radish as the main ingredient, adding a crunchy texture and a slightly different flavor profile.
- Spicy Kimchi: Amp up the heat by adding extra gochugaru or even some fresh chopped chili peppers for a fiery twist!
These variations allow you to enjoy kimchi in new and exciting ways, so feel free to experiment!
Print
Kimchi: Discover the Secrets to Perfect Fermentation!
- Prep Time: 30 minutes
- Cook Time: 0 minutes
- Total Time: 2 days
- Yield: 1 jar 1x
- Category: Fermented Food
- Method: Fermentation
- Cuisine: Korean
- Diet: Vegan
Description
Kimchi is a traditional Korean dish made from fermented vegetables, primarily napa cabbage, and seasoned with a variety of spices and ingredients.
Ingredients
- 1 medium napa cabbage
- 1/4 cup sea salt
- 4 cups water
- 1 tablespoon grated ginger
- 5 cloves garlic, minced
- 2 teaspoons sugar
- 2–3 tablespoons Korean red chili pepper flakes (gochugaru)
- 1 small daikon radish, julienned
- 3 green onions, chopped
- 1 tablespoon fish sauce (optional)
Instructions
- Cut the napa cabbage lengthwise into quarters and remove the core.
- Dissolve salt in 4 cups of water and soak the cabbage in the saltwater for 2 hours.
- Rinse the cabbage under cold water to remove excess salt and drain well.
- In a bowl, mix garlic, ginger, sugar, and chili flakes to form a paste.
- Add julienned daikon and chopped green onions to the paste, mixing well.
- Rub the spice mixture onto each cabbage leaf, ensuring even coverage.
- Pack the coated cabbage tightly into a clean jar, leaving some space at the top.
- Seal the jar and let it sit at room temperature for 1-2 days to ferment.
- Taste the kimchi; if desired sourness is reached, transfer to the refrigerator.
- Allow the kimchi to ferment further in the fridge for enhanced flavor.
Notes
- Adjust the amount of chili flakes based on your spice preference.
- Fermentation time may vary depending on the temperature of your environment.
- Kimchi can be stored in the refrigerator for several weeks.
Nutrition
- Serving Size: 1/2 cup
- Calories: 30
- Sugar: 1g
- Sodium: 600mg
- Fat: 0g
- Saturated Fat: 0g
- Unsaturated Fat: 0g
- Trans Fat: 0g
- Carbohydrates: 6g
- Fiber: 2g
- Protein: 1g
- Cholesterol: 0mg
Keywords: Kimchi, traditional Korean kimchi, fermented vegetables