Introduction
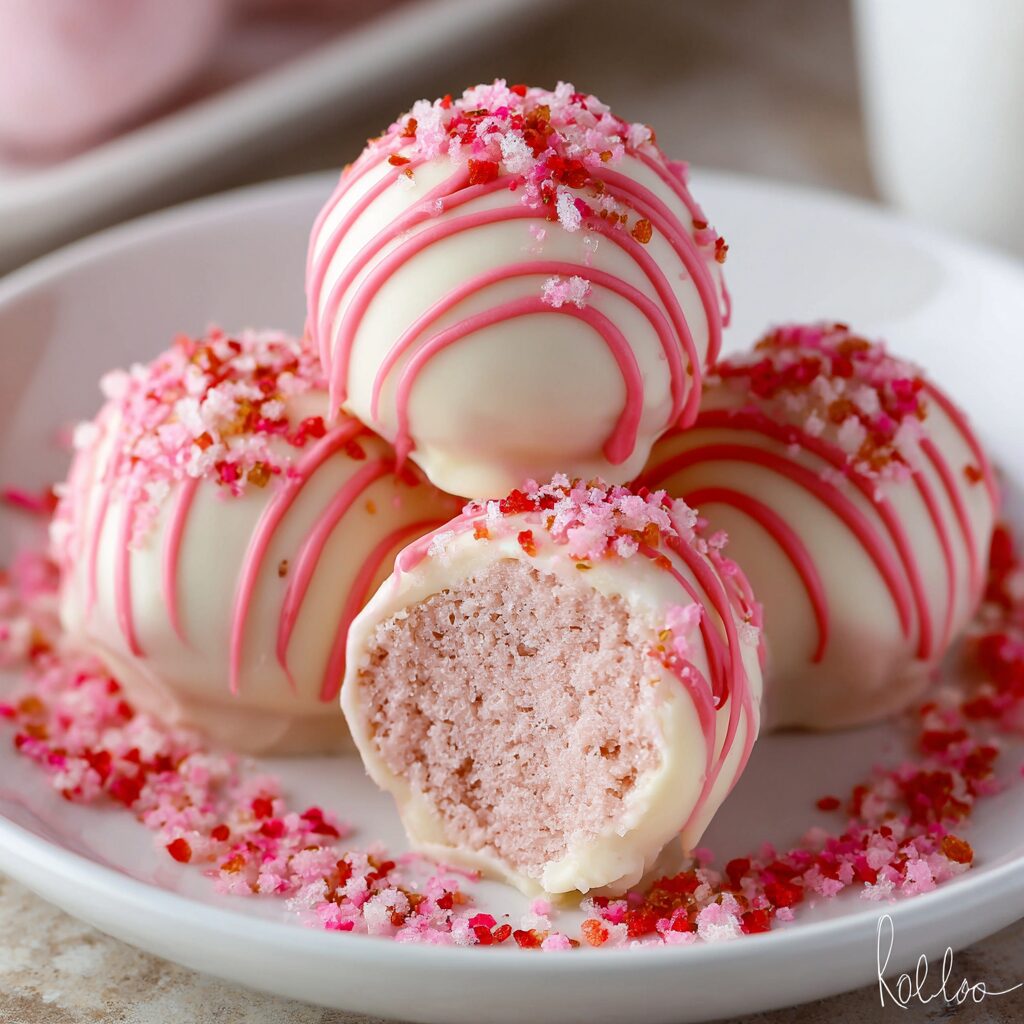
Strawberry cake truffles are the perfect blend of sweet, creamy, and fruity. These delightful bites capture the essence of a luscious strawberry cake in a bite-sized form, making them a fantastic treat for any occasion. Whether you're celebrating a special event or simply indulging your sweet tooth, these truffles are sure to impress.
The beauty of these truffles lies not only in their taste but also in their simplicity. With a few key ingredients and a little time for preparation, you can create an enchanting dessert that showcases the vibrant flavor of strawberries. Perfect for parties, gifts, or simply as a personal treat, let’s dive into making these delectable treats!
Ingredients
- 1 cup crushed strawberries
Fresh strawberries bring a burst of flavor and moisture to the truffles. Their natural sweetness complements the other ingredients and creates a bright, fruity base that sets the tone for this dessert. - 1 ½ cups strawberry cake mix
Using strawberry cake mix saves time and ensures a consistent flavor in your truffles. It acts as the foundation, providing the essential cake texture and sweet taste reminiscent of classic strawberry cake. - ½ cup cream cheese, softened
Cream cheese adds a rich and creamy texture to the truffles, helping to bind the mixture together while also contributing to the overall flavor profile with its subtle tang. - 1 teaspoon vanilla extract
Vanilla extract enhances the flavor, bringing warmth and depth that balances the sweetness of the strawberries and cake mix. It’s a vital ingredient that elevates the overall taste of the truffles. - 1 ½ cups white chocolate chips
White chocolate chips are used for coating the truffles, providing a sweet, creamy shell that complements the strawberry-flavored filling while allowing for drizzling and decorating. - Sprinkles or crushed freeze-dried strawberries for garnish
Sprinkles add a festive touch and a bit of crunch, making your truffles visually appealing and fun. Crushed freeze-dried strawberries can intensify the strawberry flavor and add texture.
Directions & Preparation
Step 1: Prepare the strawberries by washing and crushing them.
Start by washing the strawberries thoroughly to remove any dirt or residues. Once cleaned, crush them using a fork or a potato masher until they reach a pulp-like consistency. This step is crucial as it ensures that the strawberries blend seamlessly into the truffle mixture, providing a vibrant flavor throughout.
Step 2: Mix the cream cheese and vanilla until well combined.
In a medium bowl, combine the softened cream cheese and vanilla extract, using a hand mixer or whisk. This blending process is essential for achieving a smooth and creamy mixture, which will help create the luscious filling for your truffles. Ensuring there are no lumps will result in a more pleasant texture.
Step 3: Incorporate the crushed strawberries and cake mix into the cream cheese mixture.
Gently fold the crushed strawberries and strawberry cake mix into the cream cheese mixture. Use a spatula to ensure everything is equally combined without overworking the mixture. This creates a dough-like consistency that will form the base of your truffles.
Step 4: Chill the mixture in the refrigerator for about an hour.
Chilling the mixture is an important step as it firms up the truffle dough, making it easier to handle. It helps solidify the flavors, allowing them to meld together. Be patient, as this hour is key to ensuring a successful rolling process.
Step 5: Roll the chilled mixture into small balls.
Once the dough is chilled, use a cookie scoop or your hands to roll the mixture into small, uniform balls about 1 inch in diameter. This ensures even cooking and coating later on. The truffles should be smooth and round, making them more appealing when coated with chocolate.
Step 6: Melt the white chocolate chips in a double boiler or microwave.
Melting the white chocolate properly is critical for achieving a good coating. If using a double boiler, heat over low heat and stir gently until fully melted. Alternatively, microwave in short bursts, stirring in between. Ensuring proper melting prevents burning and ensures smooth, even coating.
Step 7: Dip each truffle ball into the melted white chocolate.
Using a fork, dip each truffle into the melted white chocolate, allowing any excess to drip off before placing them on a parchment-lined baking sheet. This step is vital for achieving a smooth coat. Before the chocolate hardens, sprinkle with your choice of toppings to add texture and color.
Step 8: Allow the chocolate coating to set before serving.
Once all truffles are coated, set them aside at room temperature or in the refrigerator to allow the chocolate to harden completely. This patiently waiting period rewards you with a firm, glossy finish that enhances both appearance and bite. Enjoy these delightful treats once set.

Enhancing Flavor with Fresh Ingredients
Using fresh strawberries is pivotal in creating a robust flavor in these truffles. While frozen strawberries work in a pinch, they may introduce unwanted moisture. Always opt for ripe, in-season strawberries to achieve the best flavor profile. Their natural sweetness pairs perfectly with the creamy cake truffle filling, elevating the dessert to new heights.
Creative Coatings for Unique Variations
While white chocolate offers a classic coating, consider experimenting with milk chocolate or dark chocolate for a richer flavor twist. You could also use colored candy melts to match a theme or occasion. Experimenting with various coatings not only personalizes each batch but also adds visual appeal, enhancing the overall presentation for parties or celebrations.
Truffles: A Versatile Treat for Every Occasion
Strawberry cake truffles are versatile, making them suitable for an array of events. From birthday parties to weddings, they can be customized to match any celebration. Furthermore, these truffles can be transformed into delightful edible gifts, packaged in decorative boxes for a personal touch. Whatever the occasion, these treats are bound to bring joy and satisfaction.
FAQs
Why do my truffles seem too soft after rolling?
If your truffles are too soft, they may not have chilled long enough. Make sure they are adequately firm before rolling, and consider chilling them for a bit longer if needed.
Can I replace the white chocolate with something else?
Yes, you can use milk chocolate or dark chocolate for the coating if you prefer a different flavor. Just melt them in the same way as the white chocolate.
What if the chocolate coating is too thick?
If the coating appears too thick, try thinning it with a small amount of vegetable oil or shortening to achieve a smoother consistency, allowing for a more even coat on the truffles.
How do I keep the filling from cracking when coating?
Chilling the truffles well before coating helps them hold their shape and prevents cracking. Make sure to allow them to expand slightly at room temperature before coating for best results.
What to do if my strawberry cake mixture is too crumbly?
If the mixture is too crumbly, you can add a touch more softened cream cheese or a little bit of melted butter to moisten it slightly, helping it bind together better.
Can I add different flavors to my truffles?
Absolutely! You can infuse different flavors using extracts like almond or lemon, or incorporate additional ingredients like nuts or coconut to customize your truffles to your liking.
Conclusion
Creating strawberry cake truffles is a delightful experience, combining simple ingredients to yield an impressive result. These luscious bites not only indulge your sweet cravings but also provide a creative outlet for personalizing flavors and coatings.
As you enjoy making and sharing these treats, remember that the joy they bring resides not only in their taste but also in the memories created around them. So gather your ingredients, get creative, and savor every delicious bite!
Recipe Card
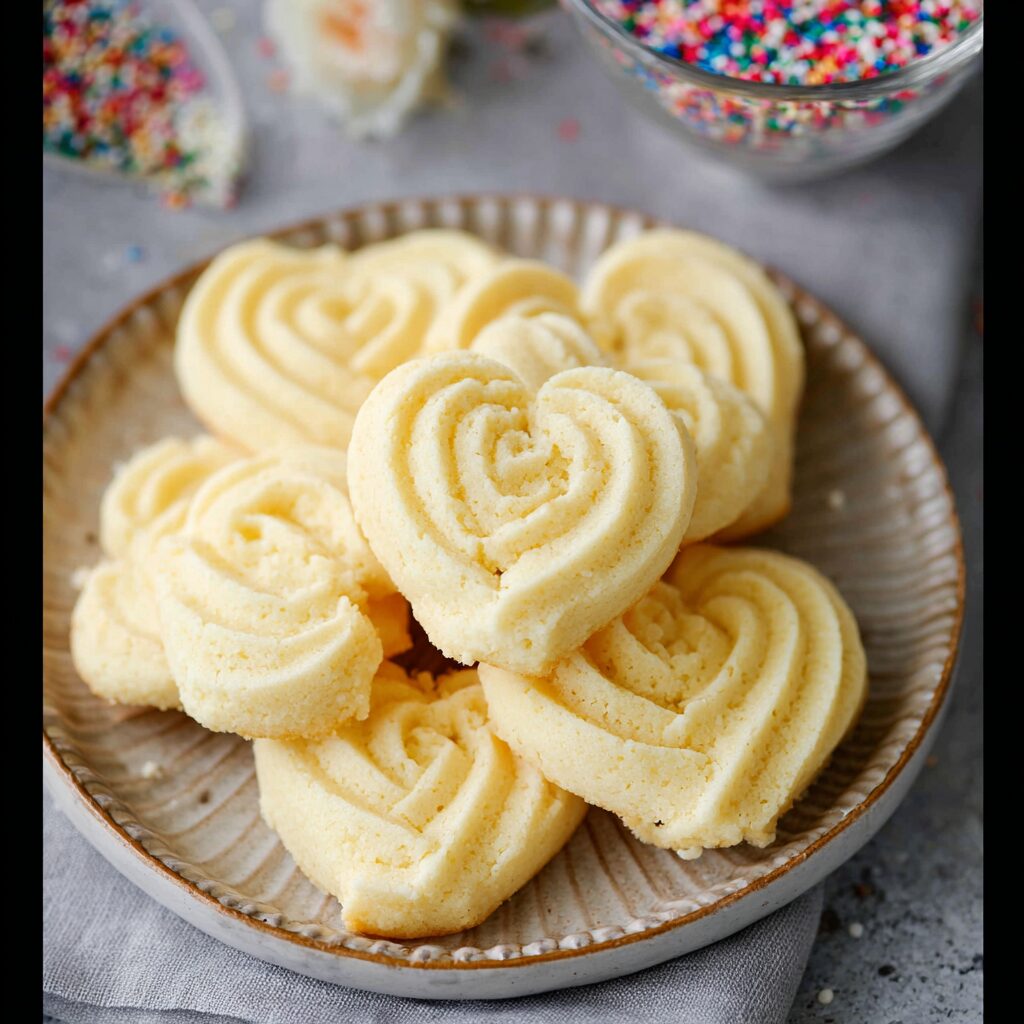
Rich and Delicious Butter Cookies for Every Occasion
Ingredients
Method
- Preheat the oven to 350°F (175°C) and line a baking sheet with parchment paper.
- In a large mixing bowl, cream together the softened butter and granulated sugar until light and fluffy.
- Add the egg and vanilla extract to the mixture, beating until well combined.
- Sift together the all-purpose flour and salt, then gradually add to the wet mixture, mixing until combined.
- Use a cookie scoop or spoon to portion out the dough onto the prepared baking sheet, spacing them about 2 inches apart.
- Bake in the preheated oven for 10-12 minutes or until the edges are lightly golden.
- Remove from the oven and let cool on the baking sheet for a few minutes before transferring to a wire rack to cool completely.
Tried this recipe?
Let us know how it was!Notes
Additional serving suggestions: pair with a crisp salad, garlic bread, or roasted seasonal vegetables for balance.
For make-ahead, prep components separately and assemble just before heating to preserve texture.
Taste and adjust with acid (lemon/vinegar) and salt right at the end to wake up flavors.