Introduction
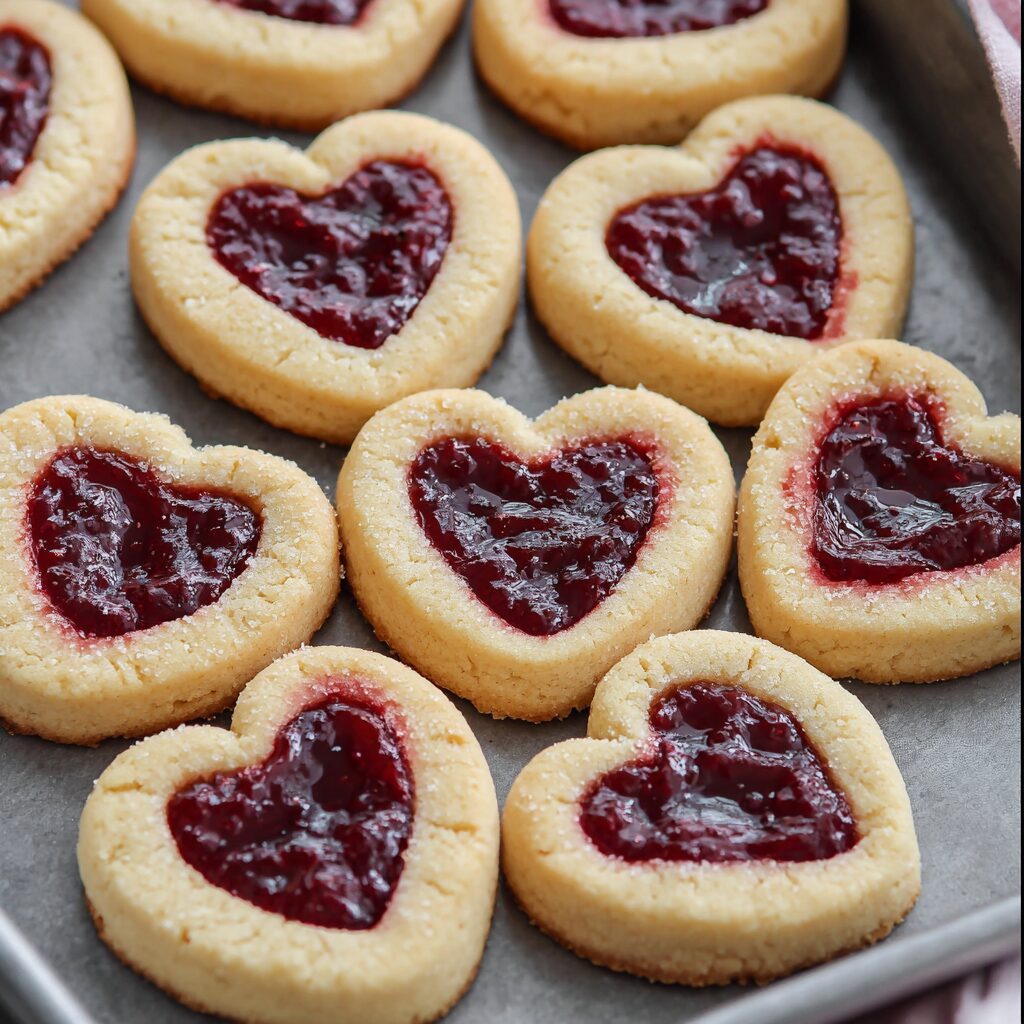
Heart Jam Cookies are a delightful treat that balance sweetness, texture, and a touch of nostalgia. These charming cookies not only taste fantastic but also carry a lovely visual appeal, making them perfect for any occasion.
Imagining the gentle crunch of a cookie crumbling in your mouth, complemented by a luscious dollop of jam at its center, is enough to tempt any sweet tooth. Whether prepared for a bake sale, a special celebration, or just a cozy evening at home, Heart Jam Cookies are bound to impress.
Ingredients
- 2 1/4 cups (280 g) all-purpose flour
Flour is the base of your cookies, providing the structure needed for them to hold their shape. It helps give the cookies a tender texture that's a joy to bite into. - 1/4 teaspoon salt
A pinch of salt enhances the flavor of the sweet ingredients and balances the overall taste profile of the cookies, preventing them from tasting flat. - 1 cup unsalted butter at room temperature
Butter lends richness to cookies while providing moisture. Using unsalted butter allows you to control the overall saltiness of the dough. - 1/3 cup light brown sugar packed
Brown sugar contains molasses, which adds warmth and a slight chewiness to your cookies. This contributes to the multifaceted flavor profile. - 1/3 cup granulated sugar
Granulated sugar not only sweetens the cookies but also aids in creating a crisp edge, making for a delightful contrast in texture. - 1 1/2 teaspoon almond extract
Almond extract adds a fragrant and nutty flavor that elevates the cookies. It pairs beautifully with the sweetness of the jam. - 1/2 cup raspberry jam
The fruity jam adds acidity and sweetness, creating a succulent center for the cookies. It contrasts nicely with the buttery dough.
Directions & Preparation
Step 1: Line two 13×9 baking sheets with well-fitting parchment paper.
Lining the baking sheets ensures that the cookies won’t stick, making it easy to remove them once baked. It also helps in even baking and cleanup, saving time and effort.
Step 2: In a medium bowl, whisk together flour, cornstarch, and salt. Set aside.
Whisking these dry ingredients combines them fully, ensuring even distribution of the leavening agent and salt. This step prevents lumps in the dough, resulting in a smooth texture.
Step 3: In the large bowl of a stand mixer or with a hand mixer, cream together the butter with the sugars until light and creamy.
Creaming butter with sugars incorporates air into the mixture, which helps the cookies to rise while baking. A lighter texture results when you do this well—aim for about 2-3 minutes on medium-high speed.
Step 4: Scrape down the bowl, mix in the egg yolk, vanilla, and almond extract.
Adding the egg yolk introduces moisture and richness to the dough, essential for a good structure. Scraping the bowl ensures that all ingredients are properly mixed, preventing uneven flavor.
Step 5: Set the mixture to low and slowly add in the dry ingredients into the wet ingredients. Scrape down the bowl as needed.
This gradual mixing prevents flour from flying everywhere and helps maintain the lightness of the cream mixture. Taking the time to scrape down the bowl ensures even incorporation of all ingredients.
Step 6: Using a 1 tablespoon sized dough scoop, make dough balls. Roll them as smoothly as possible between your palms.
Creating uniform dough balls ensures even baking and a consistent cookie size. Rolling the dough helps to minimize cracks, leading to a visually appealing cookie.
Step 7: Place each dough ball 2 inches apart onto the prepared baking sheet and press the heart shape into the top of the cookie dough.
Spacing is crucial for cookie baking as they will spread out. Indenting with your finger also forms a perfect vessel for the jam, maximizing flavor with every bite.
Step 8: Chill the cookie sheet in the freezer for 30 minutes or the refrigerator for 1 hour.
Chilling the dough solidifies the butter, which not only helps maintain the shape during baking but also produces a tender texture. This is a key tip for ensuring your cookies don’t spread too much.
Step 9: Preheat the oven to 375°F.
Preheating ensures that the cookies bake evenly and develop that lovely golden brown color. An oven that isn't hot enough can lead to cookies that are over- or undercooked.
Step 10: Put the fruit preserves into a small microwave-safe bowl and heat for 10-15 seconds until it's a little runny.
Warming the jam makes it easier to fill the indents in the dough. This step is essential to achieve that perfect gooey center.
Step 11: Fill the heart indent to the brim with about 1/2 teaspoon of jam.
Overfilling might lead to jam spilling over during baking, creating a mess. A controlled amount ensures each cookie has just the right amount of fruity sweetness.
Step 12: Cook each tray of cookies for 10-12 minutes until the cookie edges just start to turn golden brown.
Baking the cookies until the edges are golden but the centers remain soft is vital. This contrast in texture defines a perfect Heart Jam Cookie.
Step 13: Let cookies cool on the cookie sheet for 5 minutes, then transfer them to a cooling rack.
Cooling on the sheet allows the cookies to set and become firmer. Transferring to a cooling rack promotes airflow, preventing sogginess from steam.

Perfecting the Cookie Texture
The key to a delightful Heart Jam Cookie lies in its texture. Achieving a tender yet slightly crisp edge comes from the balance of creamed butter and sugar mixed with the right baking time. Ensure that the cookies do not overbake to preserve the soft center where the jam resides.
Choosing Your Jam Wisely
While raspberry jam is traditional, feel free to experiment with flavors like strawberry or apricot to create a personalized touch. Just remember that the flavor of the jam you choose will play a significant role in the overall taste, so select one that complements your cookie dough.
Decorative Touches for Presentation
Transforming these cookies into an eye-catching treat can be achieved by dusting powdered sugar lightly over the cooled cookies. This touch adds a beautiful contrast and elevates their appeal, making them perfect for special occasions or gifting.
FAQs
What if my cookies spread too much while baking?
If your cookies spread too much, it could be due to not chilling the dough long enough or using warm butter. Ensure to chill the dough adequately to keep the butter solid during baking.
Can I substitute the raspberry jam with another flavor?
Absolutely! You can substitute with any fruit jam or preserve that you prefer. Just make sure it’s a flavor that pairs well with the cookie's sweetness.
What should I do if the cookie dough is too crumbly?
If the dough seems too crumbly, you can add a teaspoon of milk or an additional egg yolk to bind it together better, leading to a more cohesive dough.
How can I make these cookies more visually appealing?
For a decorative touch, consider drizzling melted chocolate over the cooled cookies or adding a sprinkle of edible glitter for festive occasions.
What kind of flour should I use for best results?
Using all-purpose flour yields the best texture for Heart Jam Cookies. Avoid using whole wheat flour as it may make the cookies denser.
Can I make these cookies in different shapes?
Yes, while the heart shape is traditional, you can use any cookie cutter for fun variations. Just be mindful that baking times may vary slightly with different shapes.
Conclusion
Heart Jam Cookies are not only a delightful treat but also a wonderful way to bring a bit of joy into everyday moments. The satisfaction of baking and sharing something homemade carries a special enchantment that store-bought items simply cannot match.
Next time you're in the mood for some sweet treats, gather your ingredients and give these cookies a try. Each bite will bring a smile, reminding you of the joys of home baking and perhaps creating beautiful memories along the way.
Recipe Card

Delightful Raspberry Thumbprint Cookies with Icing
Ingredients
Method
- Cream the softened butter with 1/2 cup of granulated sugar until light and fluffy.
- Add the vanilla extract and mix in, then beat in the egg until well combined.
- In a separate bowl, whisk together the flour, baking powder, and salt.
- Gradually add the flour mixture to the wet ingredients and mix until just combined.
- Chill the dough for one hour to firm it up.
- Preheat your oven to 350°F (180°C) and line baking sheets with parchment paper.
- Shape the dough into 1-inch balls and roll them into the remaining granulated sugar.
- Using your thumb or the back of a spoon, make an indentation in the center of each ball.
- Bake in the preheated oven for 13–16 minutes or until the edges are lightly browned.
- Remove from the oven and let them cool on the baking sheet for 5 minutes before transferring to a wire rack.
- Spoon raspberry jam into the centers of the cooled cookies.
- Prepare the icing by mixing confectioners' sugar, vanilla extract, and water until smooth.
- Drizzle the icing over the filled cookies and let it set.
Tried this recipe?
Let us know how it was!Notes
Additional serving suggestions: pair with a crisp salad, garlic bread, or roasted seasonal vegetables for balance.
For make-ahead, prep components separately and assemble just before heating to preserve texture.
Taste and adjust with acid (lemon/vinegar) and salt right at the end to wake up flavors.