Introduction
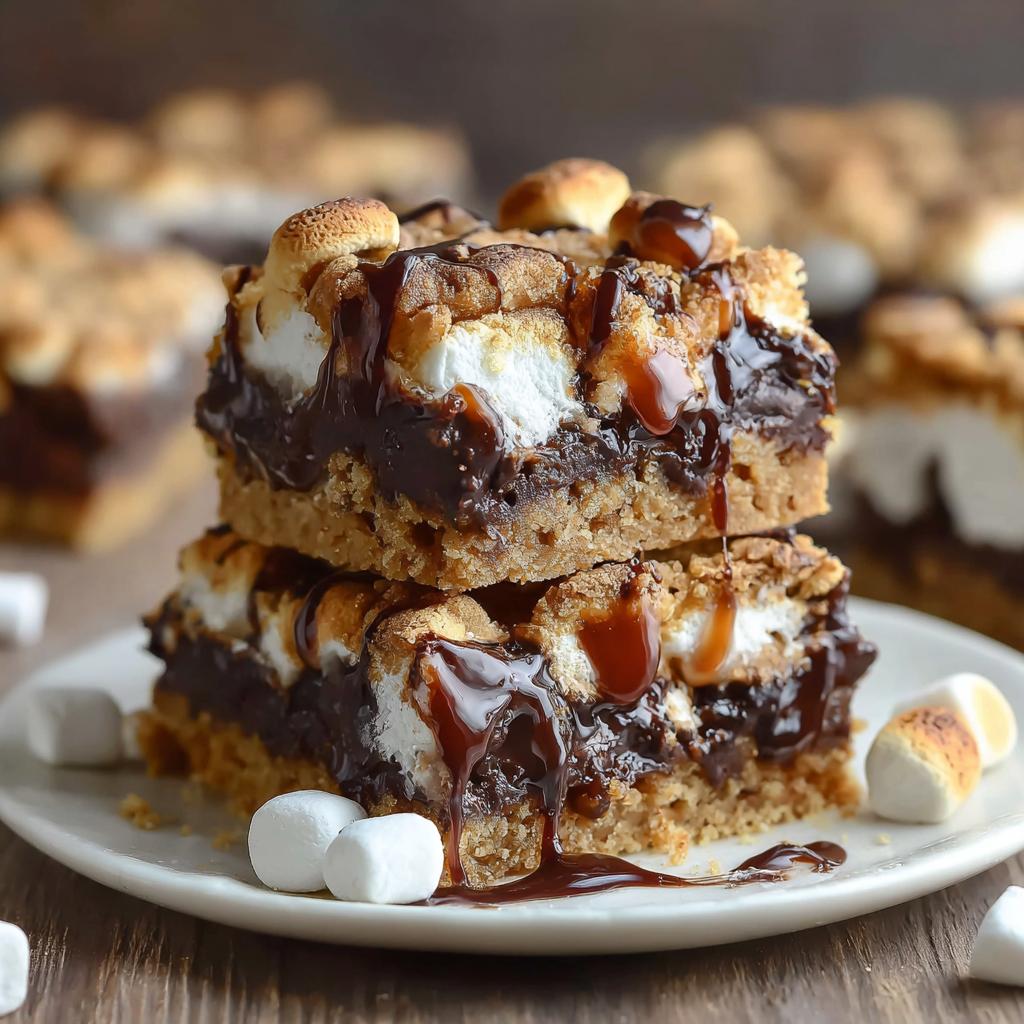
Baked S'mores Bars bring together the cherished flavors of a classic campfire treat, all in a convenient form that’s perfect for any occasion. Packed with chocolate, marshmallows, and graham crackers, these bars provide a nostalgic nod to summer nights, no matter the season.
Their gooey texture and rich taste have made S'mores a favorite, but making them in bar form elevates the experience. Uniting simplicity and indulgence, these bars are not only easy to prepare but also guaranteed crowd-pleasers, making them ideal for parties, picnics, or cozy nights in.
Ingredients
- 1 ½ cups graham cracker crumbs
Graham cracker crumbs form the base of the S'mores bars, providing a sweet and slightly nutty flavor. They also help create a stable and crumbly crust that holds the other ingredients together. - ½ cup unsweetened cocoa powder
Cocoa powder adds rich chocolate flavor, elevating the bars from a simple dessert to a chocolate lover’s delight. It balances the sweetness and gives depth to the overall taste. - 1 cup granulated sugar
Sugar sweetens the bars and aids in achieving a chewy texture. It caramelizes slightly during baking, enhancing the flavor profile. - ½ cup unsalted butter, melted
Melted butter not only binds the dry ingredients but also adds moisture and richness. It helps create a soft and gooey texture that perfectly complements the chocolate and marshmallows. - 2 large eggs
Eggs are crucial for structure and provide moisture. They help the bars rise and set during baking, contributing to that delightful gooeyness. - 1 teaspoon vanilla extract
Vanilla enhances the overall flavor, adding warmth and complexity. It balances the sweetness while complementing the chocolate. - 2 cups mini marshmallows
Mini marshmallows contribute sweetness and gooeyness, mimicking the traditional S'mores experience. They melt beautifully, creating that coveted sticky texture. - 1 cup semi-sweet chocolate chips
Chocolate chips provide pockets of melted chocolate that enhance the bars' richness. They create a delightful contrast with the marshmallows and crust.
Directions & Preparation
Step 1: Preheat your oven to 350°F (175°C).
Preheating the oven is crucial for ensuring even baking. This temperature allows the ingredients to cook properly without becoming dry or overcooked. This step creates a warm environment for the marshmallows to melt perfectly.
Step 2: Prepare a 9×13-inch baking pan by greasing it lightly or lining it with parchment paper.
Greasing or lining the pan prevents the bars from sticking, making it easier to lift them out after baking. This ensures clean, neat slices and helps maintain the bars' structure.
Step 3: In a mixing bowl, combine graham cracker crumbs, cocoa powder, sugar, and melted butter. Mix well until the texture resembles wet sand.
This step is vital as it ensures that the dry ingredients are evenly mixed with the butter. The crumbly mixture forms the base of your bars and provides the structure needed to support the gooey fillings.
Step 4: Press the mixture firmly into the bottom of the prepared pan to form an even layer.
Firmly pressing the crust ensures that it holds together during baking. This creates a solid foundation for the melted chocolate and gooey marshmallows to sit on.
Step 5: Bake the crust in the preheated oven for 10 minutes, then remove to cool slightly.
Baking the crust helps it set and prevents it from becoming soggy when the chocolate and marshmallows are added. Cooling slightly keeps them from melting too quickly.
Step 6: Sprinkle chocolate chips evenly over the crust, followed by an even layer of mini marshmallows.
Distributing chocolate chips and marshmallows evenly ensures that each bite is filled with gooey goodness. This layering also enhances the visual appeal of the bars.
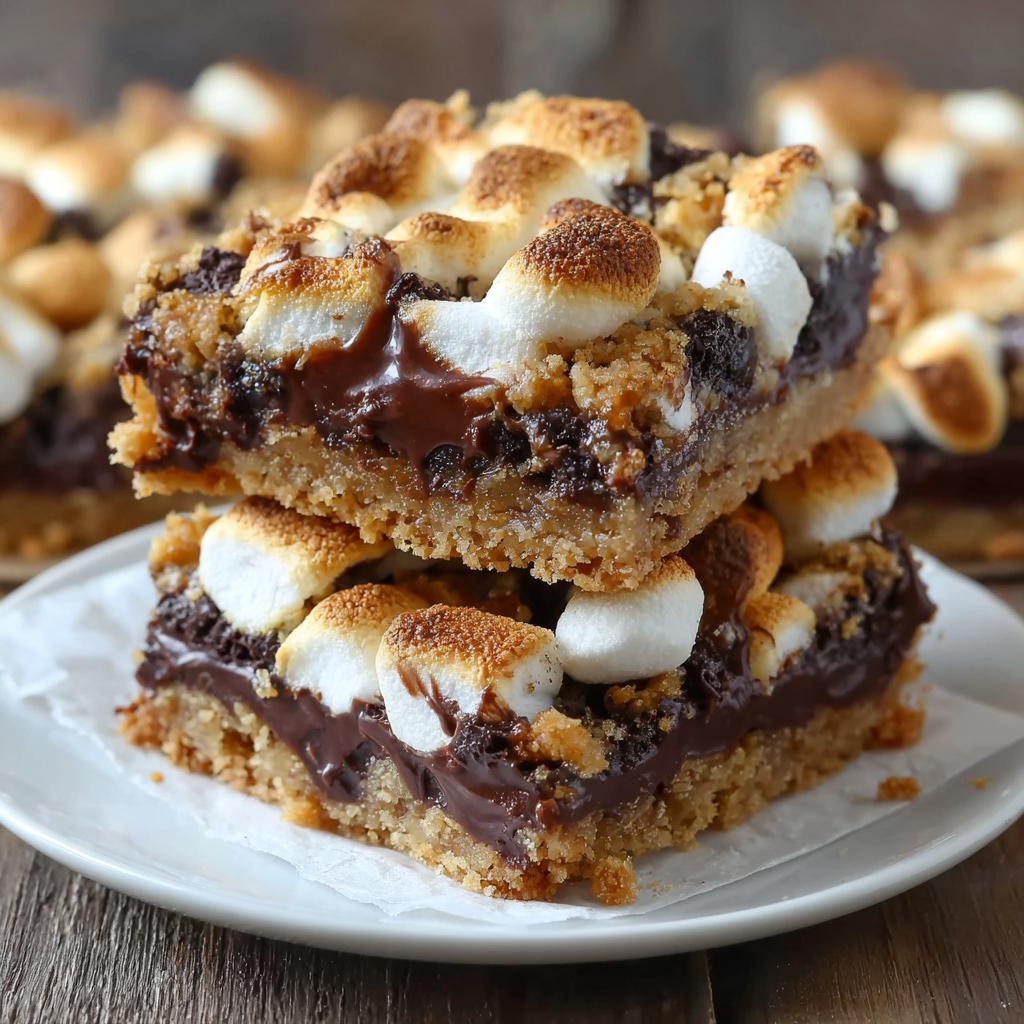
Step 7: Return the pan to the oven and bake for an additional 15 minutes, or until the marshmallows are golden brown.
Baking until the marshmallows are golden brown creates a toasted flavor and adds a delightful visual contrast. This step promotes that irresistible gooeyness that will keep everyone coming back for more.
Step 8: Allow the bars to cool in the pan before cutting into squares and serving.
Cooling helps the bars set, making them easier to cut without sacrificing gooey texture. Patience pays off, as this allows the flavors to meld together even more.
Perfecting the Gooey Texture
Achieving that characteristic gooey texture requires mindfulness during baking. Keep an eye on the marshmallows as they toast; overbaking can lead to hardened marshmallows rather than the soft bubbly treat you want. Don’t hesitate to adjust baking times based on your oven's quirks.
Storage Tips for S'mores Bars
If you find yourself with leftovers (which is rare), storing them correctly is key to maintaining their delectable taste. Store the bars in an airtight container at room temperature for up to three days. If you want to keep them longer, try refrigerating them to extend their freshness.
Customization Options
These Gooey Baked S'mores Bars are incredibly versatile. Consider adding chopped nuts, like walnuts or pecans, for added crunch, or use flavored chocolate chips such as mint or peanut butter for a twist on the traditional recipe. Create your perfect s'mores experience tailored to your taste.
FAQs
Why are my bars too thick?
If the mixture is pressed down too hard during the initial crust step, it can result in dense bars. Aim for an even but not overly compact layer for the best texture.
What should I do if my marshmallows didn’t melt properly?
If the marshmallows aren’t melting well, it may be due to uneven oven heat. Consider gently broiling the bars for a minute or two at the end to encourage melting.
Can I use different types of chocolate for these bars?
Absolutely! Feel free to experiment with milk, dark, or even white chocolate chips to suit your taste preferences.
What happens if my chocolate isn't melting well?
If your chocolate chips aren’t melting perfectly, they may have been added too early or the oven temperature was set too low. Keep a close watch next time and adjust the timing accordingly.
How can I enhance the flavor of my S'mores Bars?
For an added kick, consider a pinch of sea salt or a splash of espresso powder mixed into the dry ingredients. This will heighten the chocolate flavor significantly.
What size pan is best for making these bars?
A 9×13-inch pan is ideal for this recipe as it ensures even thickness and baking. Using smaller pans may result in overly thick or undercooked bars.
Conclusion
Gooey Baked S'mores Bars are an exceptional dessert that bridges nostalgia and modern convenience. Each bite offers a delightful mix of flavors and textures, making them a hit among friends and family.
So, gather your ingredients, unleash your inner baker, and experience the joy of creating this dreamy dessert. Whether for a gathering or a cozy night, they are sure to impress!
Recipe Card
Decadent Gooey Baked S'mores Bars to Delight Everyone
Ingredients
Method
- Preheat your oven to 350°F (175°C).
- Prepare a 9x13-inch baking pan by greasing it lightly or lining it with parchment paper.
- In a mixing bowl, combine graham cracker crumbs, cocoa powder, sugar, and melted butter. Mix well until the texture resembles wet sand.
- Press the mixture firmly into the bottom of the prepared pan to form an even layer.
- Bake the crust in the preheated oven for 10 minutes, then remove to cool slightly.
- Sprinkle chocolate chips evenly over the crust, followed by an even layer of mini marshmallows.
- Return the pan to the oven and bake for an additional 15 minutes, or until the marshmallows are golden brown.
- Allow the bars to cool in the pan before cutting into squares and serving.
Tried this recipe?
Let us know how it was!Notes
Additional serving suggestions: pair with a crisp salad, garlic bread, or roasted seasonal vegetables for balance.
For make-ahead, prep components separately and assemble just before heating to preserve texture.
Taste and adjust with acid (lemon/vinegar) and salt right at the end to wake up flavors.